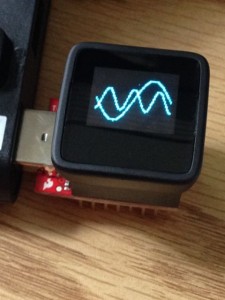
Step one. Stay calm. The MicroView will work again…
If your like me, you have at least one other Arduino laying around to do this. Most any Arduino can be setup to be a programing tool. Check out the whole tutorial on the Arduino website about what an ArduinoISP is and how it will save this guy from certain death.
There is good tutorial from Make on how to fix this, but in their write up they are soldering to the via pins, and I didn’t feel that is really necessary to do that. So instead I used the wire from a really small resistor, and stuck that info the hole of the via pins, and was able to recover the MicroView.
Materials needed:
- 1x Arduino Uno or Other Aurdino Uno board.
- Bread board (came with your MicroView)
- 5-7 Jumper wires
- 3x Small hookup wire or small resistors to fit in the via holes
- 3x Alligator clips or Mini grabbers <— These are important
Step one:
Open the front of the unit with your finger nail (no tools required!), it’s super easy to do. Just put a little pressure on the top and bottom, and use your finger nail on the sides to pull the front window out.
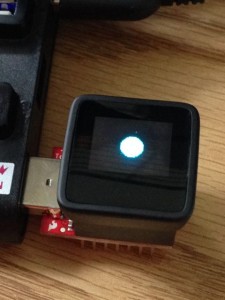
![IMG_6257]() Step Two: Panic.
Step Two: Panic.
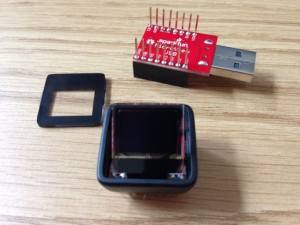
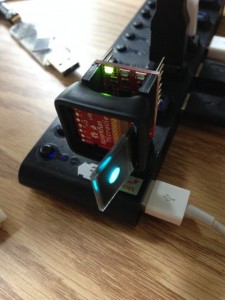
No wait. Stay calm. Gently lift the display to reveal the Via pins. Now put the MicroView into a bread board.
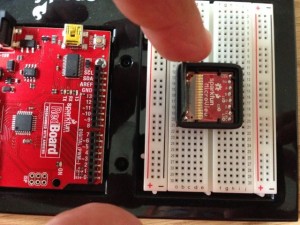
We are going to set this up using the method described in the Arduino Tutorial on making another Arduino an ISP programer.
- Wire the Arduino GND to the GND rail on your bread board.
- Wire 5V from the Arduino to the VIN pin of the MicroView
- Put your jumper wires into the pins of the Arduino board for 10, 11, 12, and 13.
- Wire Pin 10 from the Arduinio to the RST pin of the MicroView
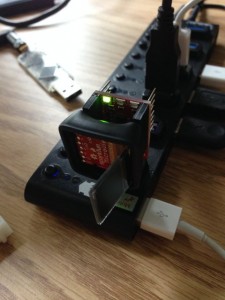
- Put a jumper from the BreadBoard GND to the MicroView GND – it should come alive and have the fun demo running.
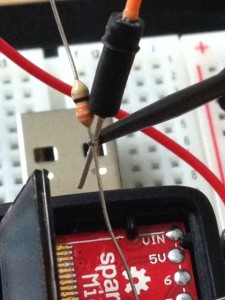
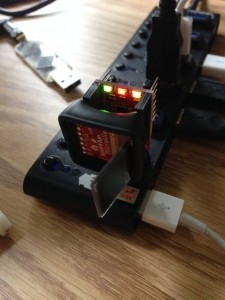
- Now comes the fun part… place the small wires into the Via holes like so…
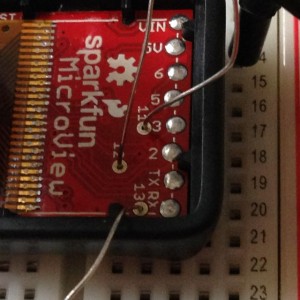
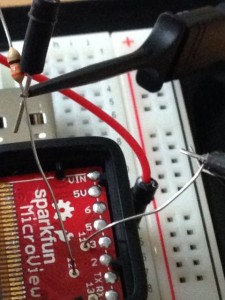
For the wires, I used one side of a resistor leg, but you could also use small hookup wire. Grab your mini grabbers or alligator clips, and hook up the following:
- Pin 11 of the Ardunio to Pin 11 of the MicroView
- Pin 12 of the Arduino to Pin 12 of the Micro View
- Pin 13 of the Arduino to Pin 13 of the Micro View
Now we need to turn your regular old Arduino into a programmer! Be careful of the wires, and go ahead and plug the Arduino in. To get this going, we are going to use the Arduino IDE completely! So if you’ve never used the command line tools, this will be easy for you.
First we need to open the Example Sketch “ArduinoISP”.
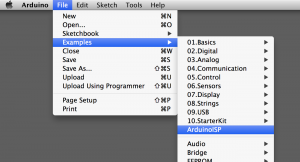
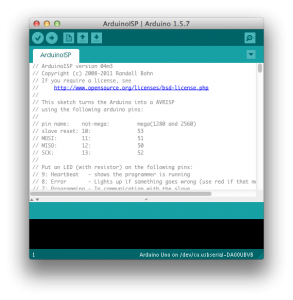
Now select the Board type, and the serial port, and hit upload. Once this completes, we can set this up to be our ISP for programing the boot loader to the MicroView.
Burn The Bootloader
Reset the Arduino board, and set the Arduino IDE to use the “Arduino as ISP” to program for the MicroView.
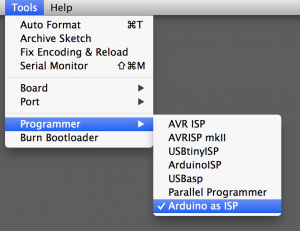
Now, make sure all the wires are secure, and not shorting out, or crossing anything, select the serial port for the Arduino, and hit the “Burn Bootloader” menu option.
If everything works, it should only take about 5-10 seconds to write the boot loader to the MicroView. The MicroView will now go dark. This is normal, and expected, as we just wiped its memory.
You should then be able to unplug the wires and plug it back in your computers USB port, and program it directly via the USB board that came with the MicroView.
Now put the front cover back on, and you are good to go! Good luck, and I hope this helps are few people out!


